I had an adorable wooden slate blue dollhouse when I was little that my mom had built for me. I loved it! It’s still in the attic at her house. I dreamed about handing it down to my own little girls. And then I had all boys.
I’ve considered turning it into Wayne Manor.
Nevertheless, my life has been blessed with little girls. They are not my own but I love them like they are. So, when I ran across a wooden dollhouse/bookshelf at the thrift store, I knew what I had to do. Two of “my” girls had a birthday coming up. It was time to break out the Mod Podge and create a magical wonderland for their dolls.
How to Flip a Wood Dollhouse
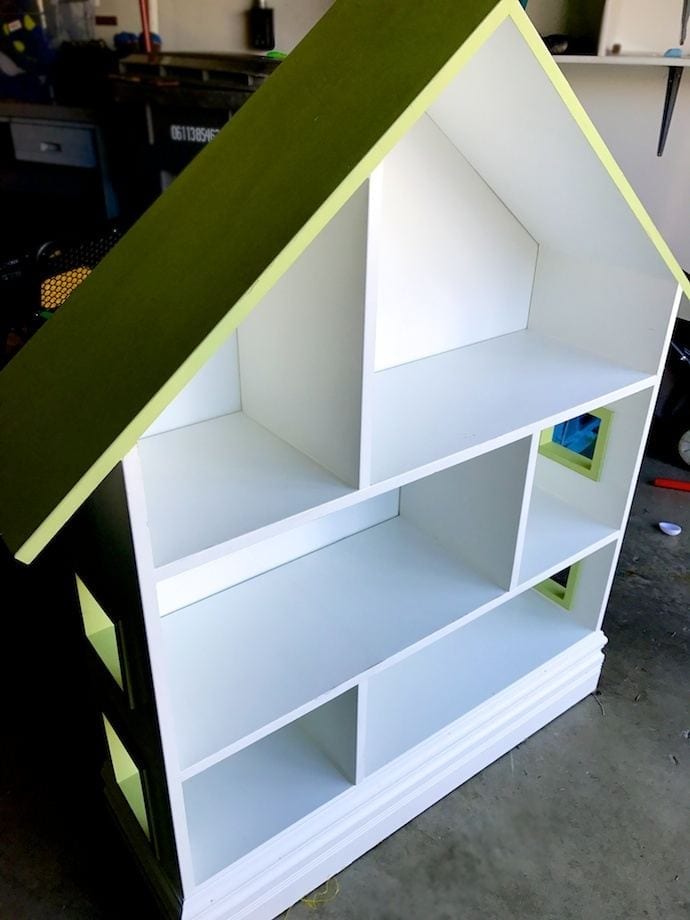
I had to hide this giant wooden dollhouse that I scored for $30 at a local thrift shop in my garage for a few weeks. It was not small. I got started strategizing on exactly how I would flip this little house. Did I keep it simple or would I go all out? I settled for a little of both.
PAINT
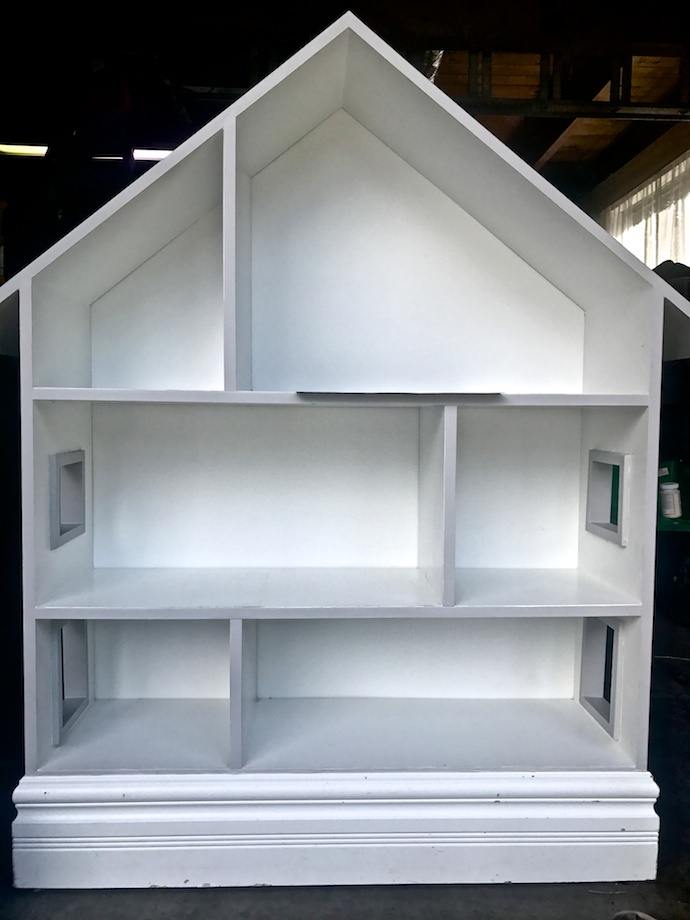
I was lucky. The wooden dollhouse was in great shape. I wasn’t a fan of the green, so the first thing I did was paint the roof and the windows gray with paint that I had leftover from painting my living room. Easy fix. If you don’t have extra paint lying around for projects like this, check your local paint store for samples or mistakes that they sell for cheap or even give away.
SHOPPING (AKA THE FUN PART)
My base colors were down. Now the fun began. I decided to keep things simple and as cheap as possible. For about a week, I visited thrift stores to collect dollhouse furniture. My biggest find was an old plastic dollhouse, which I took home and had my husband help strip and clean. Demolition Day we called it (yes, we channeled our inner Chip and Joanna Gaines). It was one of those houses where most of the furniture was connected. Some of it had lights and sound, therefore we had to disconnect it from wires too. It was totally worth it. RIP plastic dollhouse. Thanks for the good times.
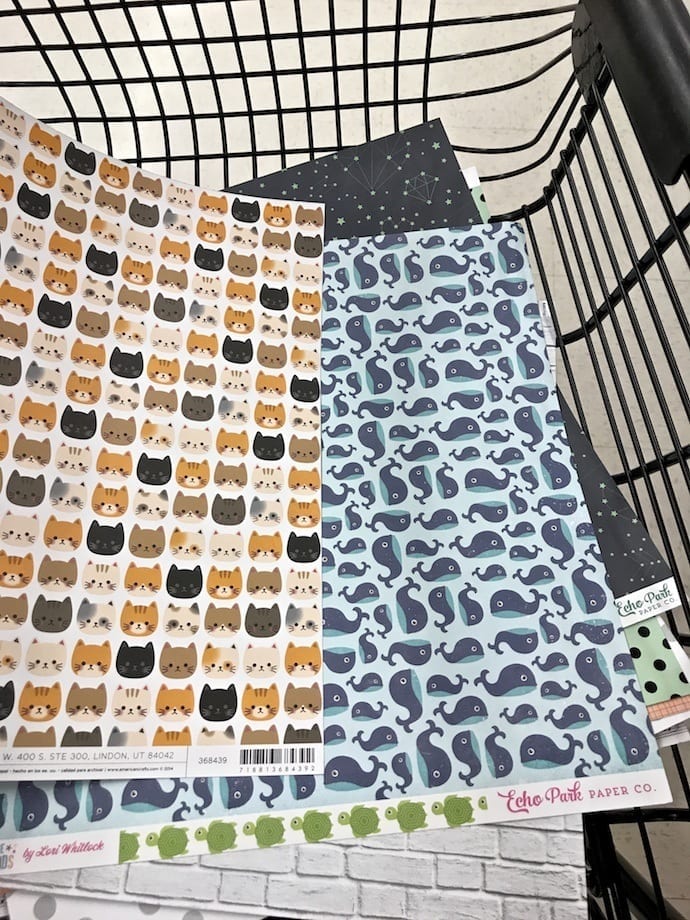
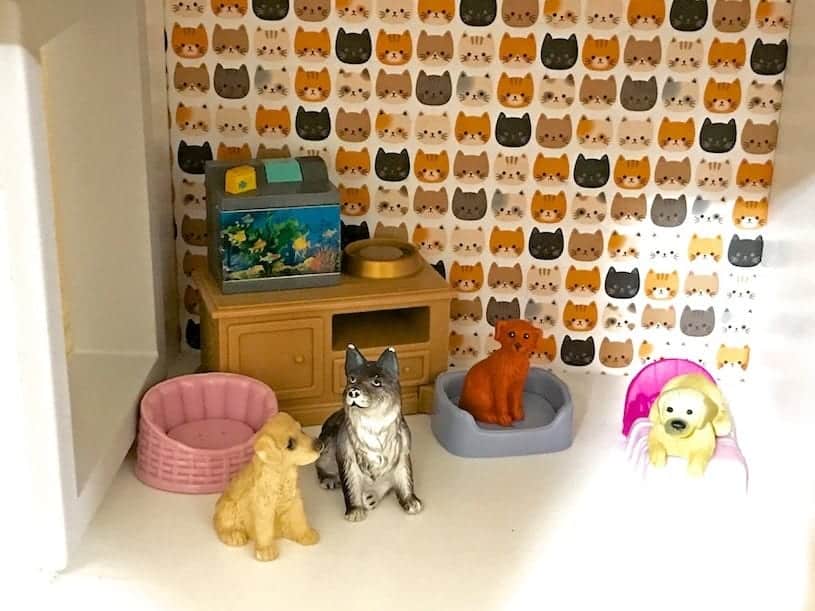
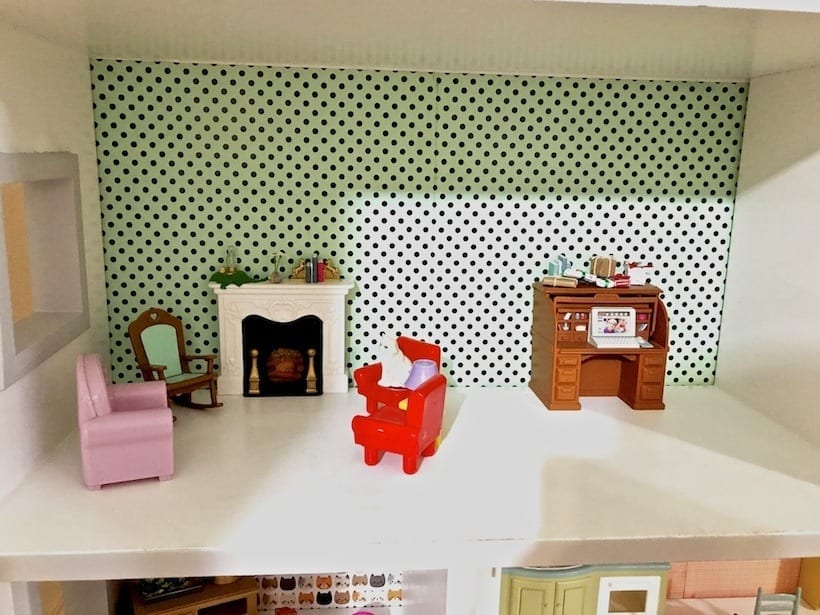
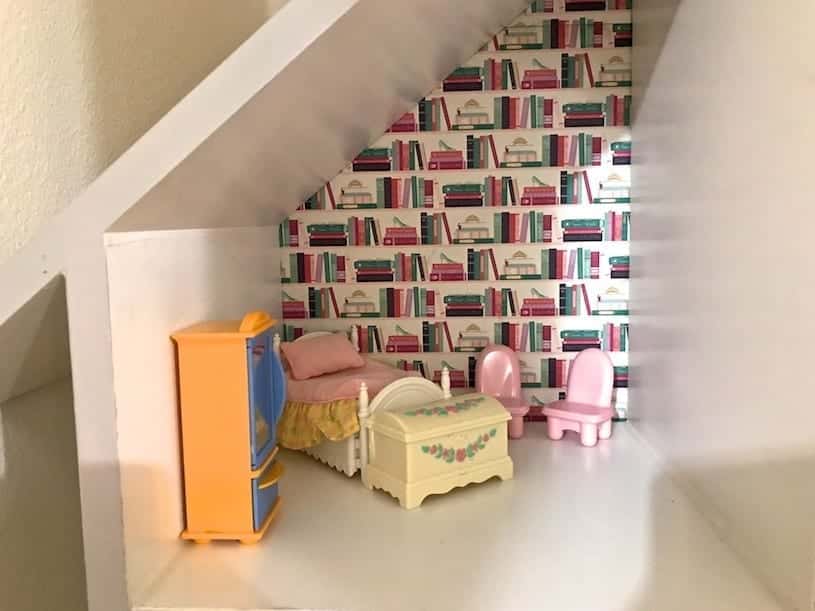
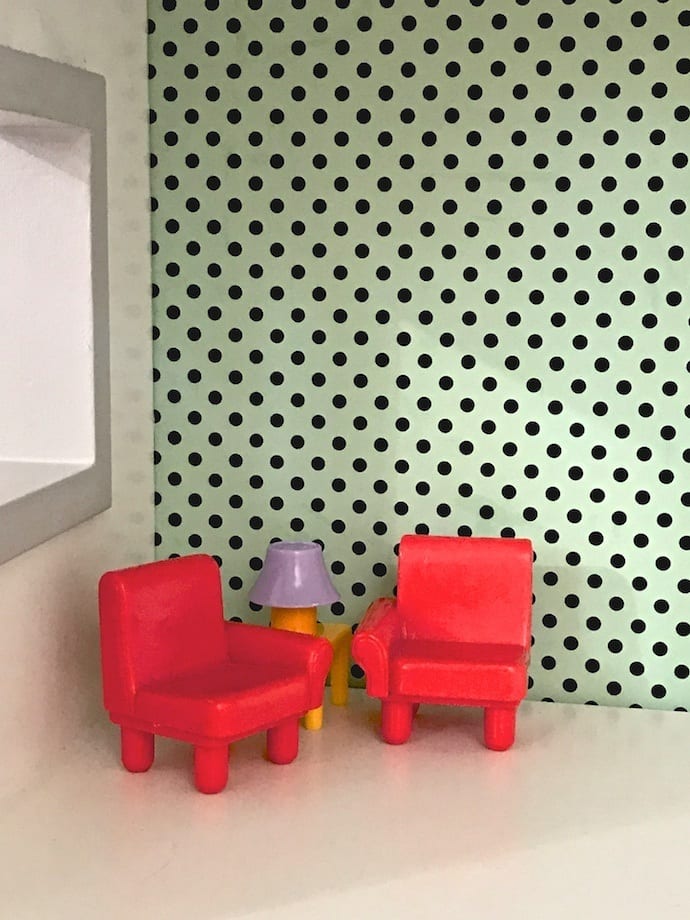
Other than furniture, the only other thing I knew I had to have was wallpaper. I had so much fun going through scrapbook paper at the craft store and deciding what I wanted to go in each room. It was all so perfect! There is no way I can ever make these decisions for a real life human house. It’s just too much pressure. I’d also never get away with these patterns in a full-size room. When rehabbing a dollhouse though, you get to have a little fun with materials.
Apply Wallpaper
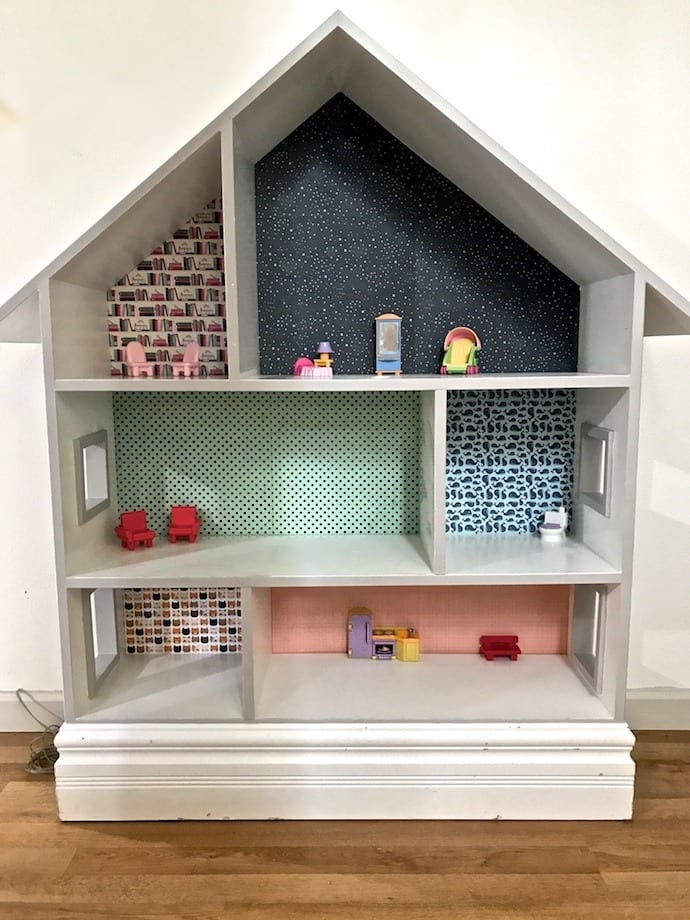
I had to decide which rooms would get which wallpaper since the bigger rooms would need two sheets. I measured and cut the paper to fit the back walls of each room and then attached them with a layer of Mod Podge on the back side of the paper. The best way to apply the paper is to start from the middle and go out. Smooth with a credit card so that all of the air pushes out instead of getting trapped and creating bubbles. They actually sell little rollers for this purpose but a card worked fine.
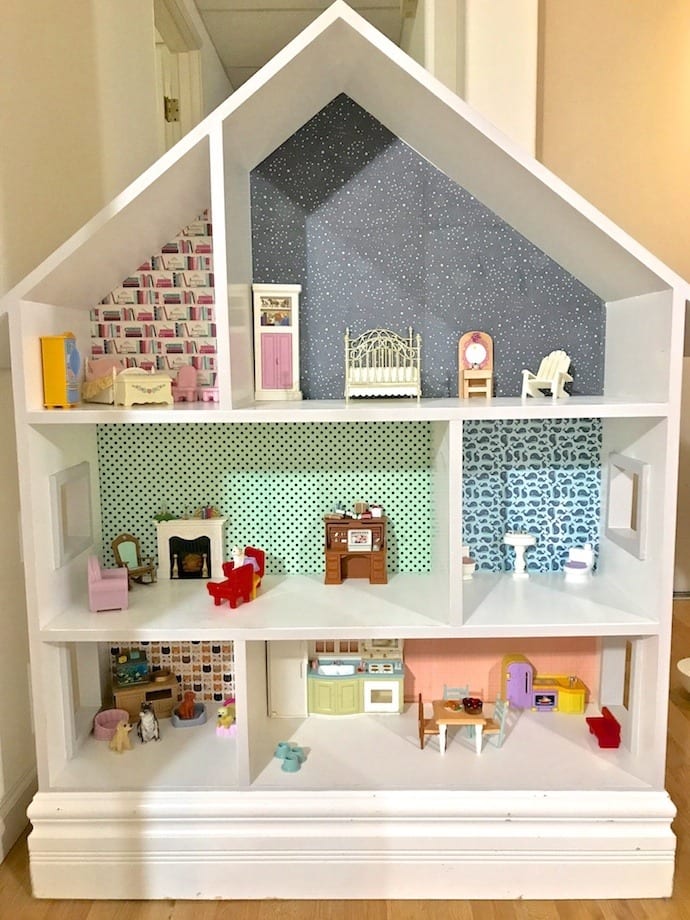
The Final Touches
This was my favorite part, playing house and decorating! I added in the rest of the furniture I had collected and stolen from the other house. There was a moment that I wasn’t sure I wanted to give it away anymore. Maybe it could live at my house and they could come play with me?
In the end I did give the wooden dollhouse to my best friend’s twin girls for their birthday. And yes, I go over to play with that dollhouse every now and then still. I’m not sure how they will be able to pass it down to their own little girls one day, but I’m sure they will figure it out. My own twin boys will have to figure out how to pass on Wayne Manor after all.




Great post! I actually redid an old dollhouse this same way for my daughter! I used scrapbooking paper and left over paint we had from my living room painting. However I’ve noticed with some playing that tiny parts of the exterior paint are chipping. Did you seal your painting afterwards? I didn’t. Wondering if that would really make a difference. Thank you for your feedback.
Hi Renee! I was hoping you could tell me approximately how much it would cost to repair a large, 40 year old, handmade, damaged dollhouse. The guy I found to renovate it is charging me over $3000. for his time and work! And it will take about 5 months to completes it. Is this reasonable? I’d love your opinion, as I’ve looked everywhere online for dollhouse renovations and you are one of the only people who does! Any advice you can give me is greatly appreciated!
Love this! My granddaughter and I are working on restoring her mother’s soil house my husband built when she was young. Sooo fun. Loved your tips😊
Doll house lol. Not all house😳