The first time I went to Jordan, I was blown away by the food. Cultures collided as I inhaled baklava, date bread rings, knafeh (also spelled Kanafeh) and mansaf. Walking through a food market, where vendors sold vegetables and fruits I’d never even heard of, drew my eye left and right as we wandered past.
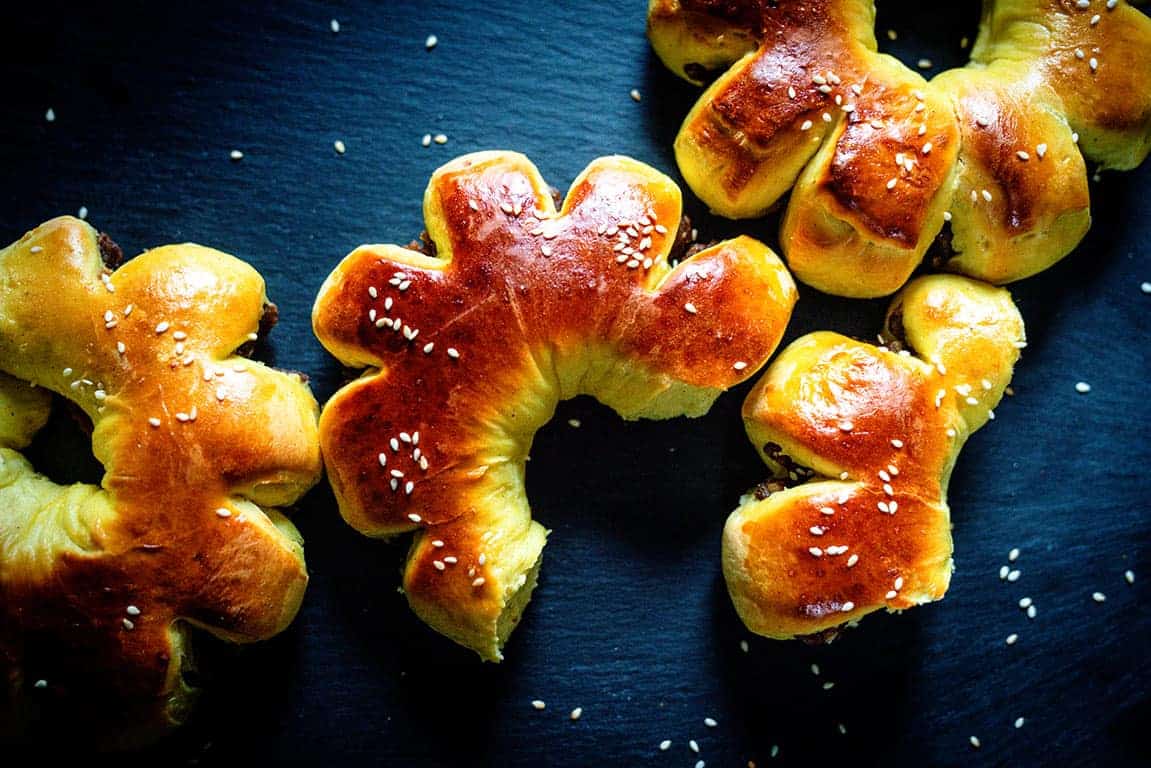
But it was the bread of Jordan, including fluffy date breads, that would have me asking when we would stop at a shop for food again.
Later in the same trip when I was in Israel and Palestine, I found date bread rings and date rolls, that I was already familiar with from earlier in my trip. Naturally, when purchasing these homemade breads, I had to make sure I got at least one (ok, three) for me, and a few to share with friends.
I knew that when I got home, I’d have to make these round date breads for my kids. They would be traveling back to the Middle East with me in the future, but for now, I could give them a taste of what to expect at home before we even got on our flights to Jordan.
History of Date Bread and Date Stuffed Breads
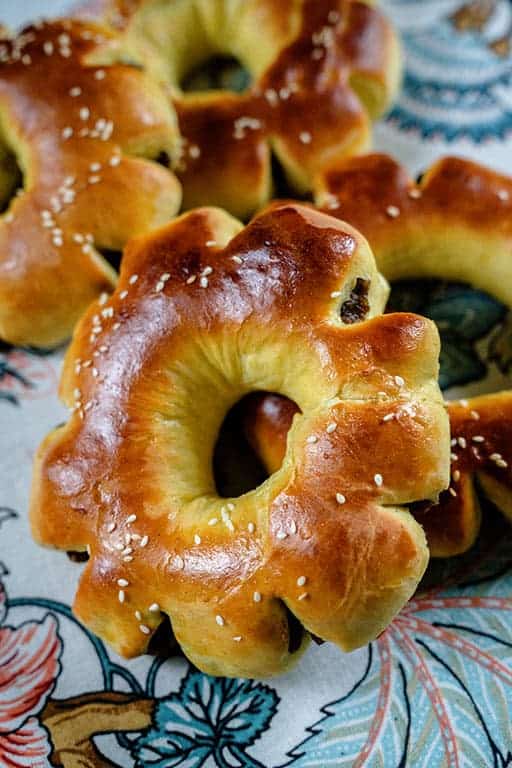
Similar to ka’ak bi ma’moul (or ka’ak bi ajwa), a crunchy biscuit stuffed with ground dates, or menenas, these fluffy, yeasted sweet breads are usually topped with a milk or egg wash and sesame seeds. In Palestine, they are called Nawa’em.
American and Europeans may think they look more like Philadelphia pretzels or German pretzels, but date stuffed bread rings are much sweeter and fluffier in texture… plus they are stuffed with a date paste. No mustard should touch these baked goods!
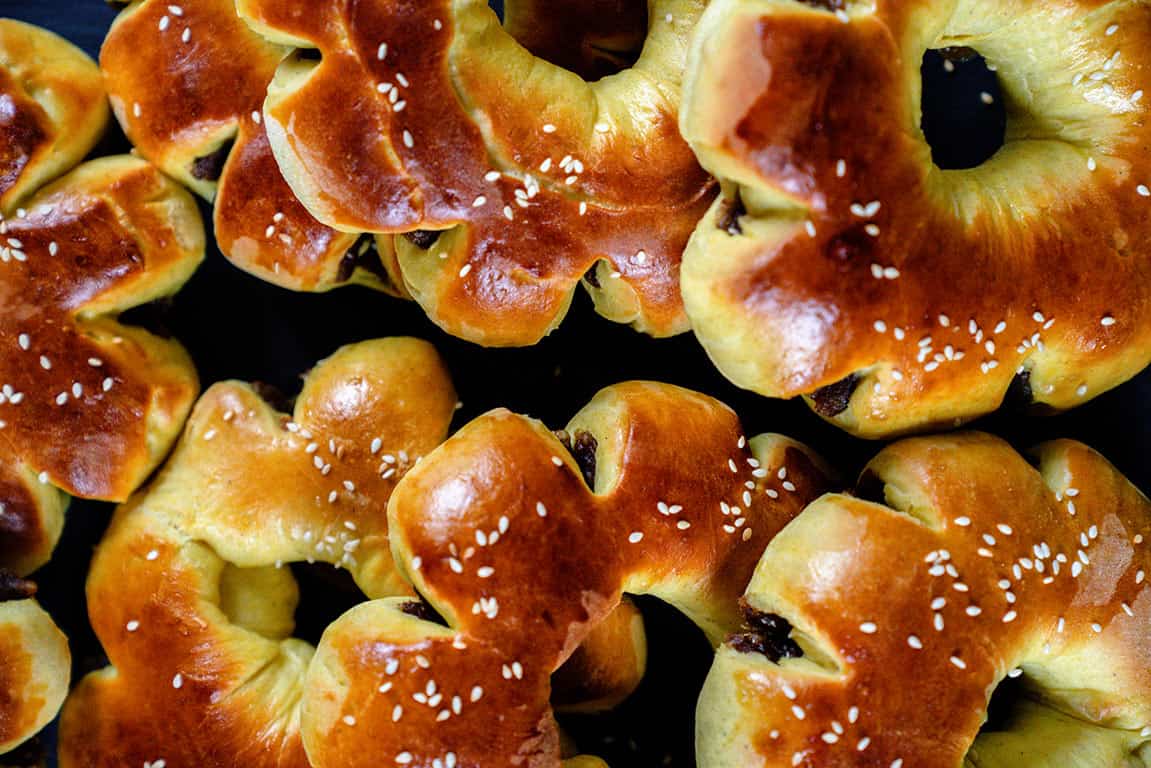
The Chef in Disguise, which is where my recipe is derived from, grew up having these in Amman, Jordan, but many cultures in Iraq, Egypt, Israel and Palestine have a similar creation that they pick up on the way to work at the market. Date breads have been around for thousands of years, even going as far back as the pharaohs, we are just getting to eat the evolution of these breads over a few millennia.
Just don’t confuse this date bread with the traditional date and walnut bread found in Scotland and across England, Australia, New Zealand and Canada.
Date Bread Ring Recipe Tips and Tricks
For this recipe, I added in some ground turmeric to get that beautiful golden color. You could easily do this with saffron threads soaked in the warm milk if you happen to have saffron on hand (similar to our St. Lucia saffron bun recipe).
The cardamon used in the dough, and the cinnamon and cardamon used in the date paste, is all a matter of taste. If you love cardamon, add a bit more into both the dough and paste. I’ve added extra cinnamon on occasion since my family loves cinnamon buns.
For the dates, you can get regular medjool pitted dates from your local grocery store, or find baking dates at your nearest Middle Eastern shop. Just make sure you give your pitted dates a good grind in the food processor.
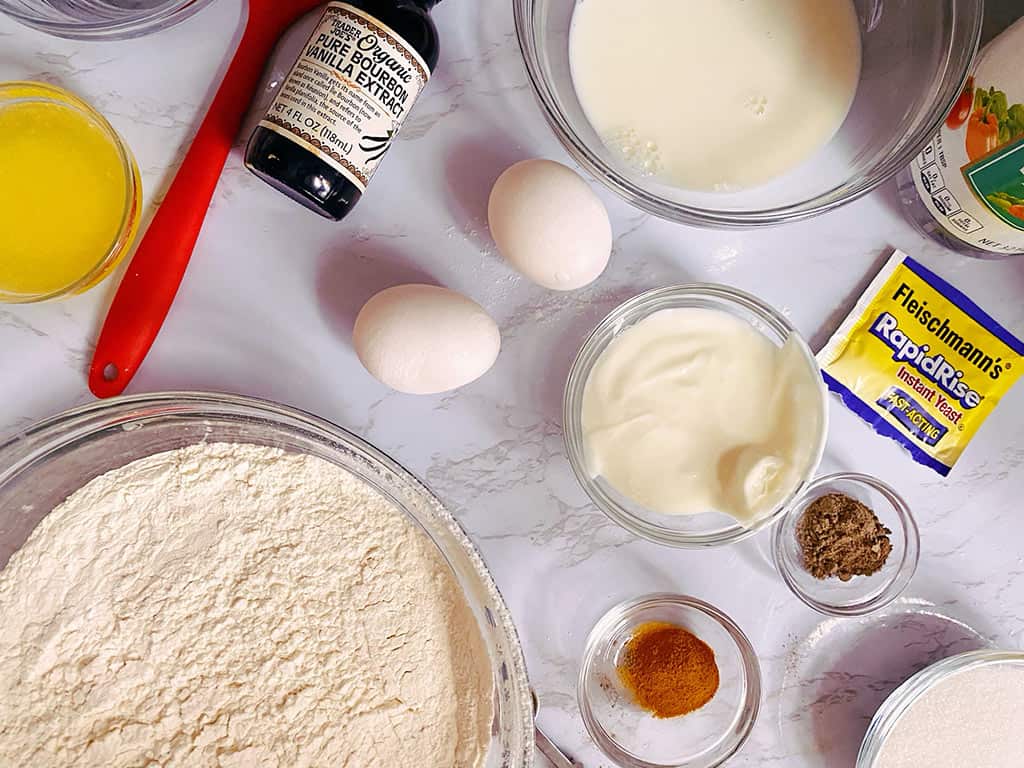
Date Bread Dough Ingredients
- 4 1/2 – 5 1/2 cups all-purpose flour
- 1/2 tsp cardamom
- 1/2 tsp turmeric
- 1 packet of instant yeast (AKA 1 tbsp fast-acting instant yeast)
- 1/2 cup sugar
- 1/2 tsp kosher salt
- 1/3 cup melted butter (or canola oil)
- 1/4 cup yogurt (whole milk if possible)
- 1/2 cup warm milk (100°F- 110°F)
- 1/2 cup water, warmed (100°F- 110°F)
- 2 eggs
- 1 tsp white vinegar
- 1 tsp vanilla extract
- Egg wash (1 egg whisked with 2 tsp milk or water)
- 1-2 tbsp sesame seeds
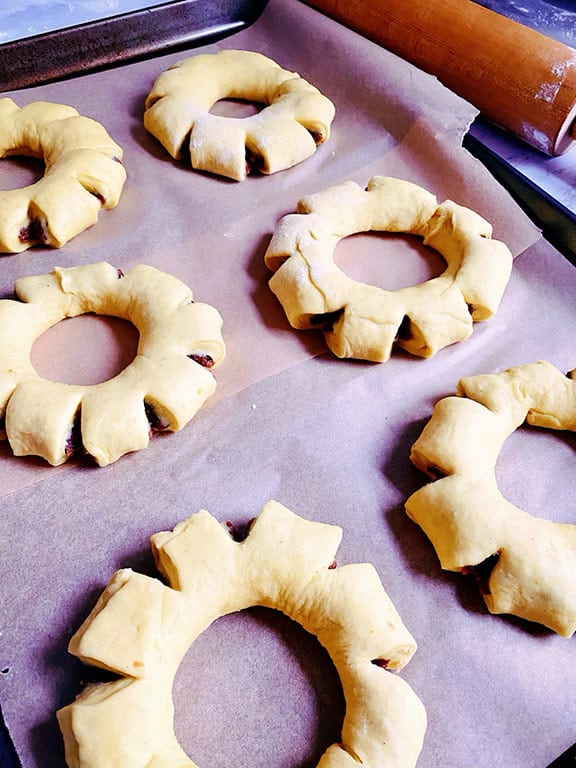
Date filling
- 500 grams dates, pitted (about 15-20 dates)
- 2 1/2 tbsp melted butter
- 1 1/2 tsp cardamom
- 2-3 tsp ground cinnamon
Date filling
- In a food processor, grind the dates into a paste.
- Pour date paste into a clean bowl, mixing in butter, cardamom and cinnamon.
- Set aside prepared date filling until bread is ready to roll out.
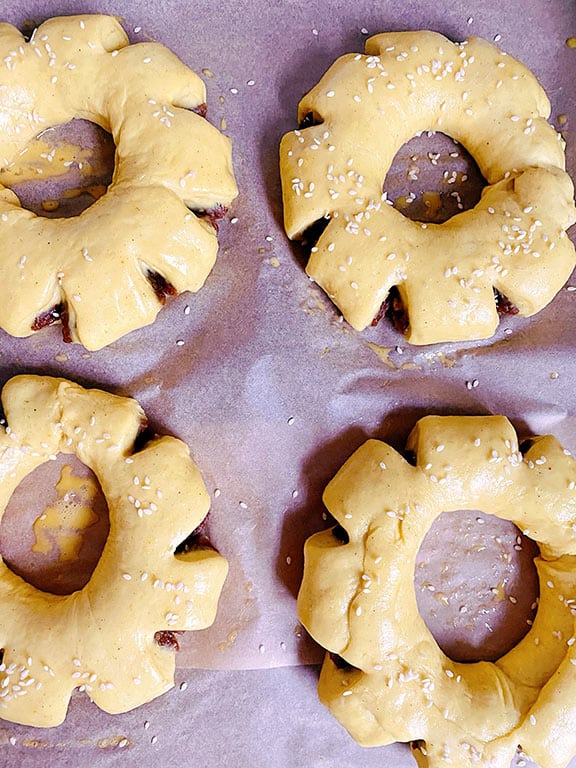
Date Bread Ring Instructions
- Using a stand mixer fitted with the paddle attachment set to medium, combine 4 1/2 cups of flour with the sugar, yeast, cardamon and turmeric.
- Switch to stir (or low), adding the melted butter until combined.
- Add in the yogurt, vinegar and vanilla, until combined.
- Add the eggs, one at a time, making sure all ingredients are combined.
- Switch to your mixer’s kneading hook (or you can knead by hand), adding the warmed milk and water (do not let the liquids go above 110°F).
- Knead for 5 minutes, adding more flour if the dough is too sticky, kneading for about 10 minutes until the dough is smooth and passes the window test.
- In a large oiled bowl, turn out your dough into the bowl, covering the bowl with plastic wrap or a towel to allow the dough to rise in a warm, dry place for at least an hour or until doubled in size (you can set your oven to 100°F to help the dough rise if it is too cold in your kitchen).
- Once doubled, take your dough out and gently push it down with your hand (do not punch down your dough!)
- Allow the date dough to rest for about 15 minutes.
- Preheat your oven to 400°F.
- Line a large baking sheet or two half baking sheets with parchment paper.
- Divide your dough into eight equal pieces (about 400 grams per piece).
- Divide your date paste into eight equal parts (about 60 grams each).
- Roll out each piece of dough on a flat, floured surface, creating a rectangle about 1/4 inch thick with each piece.
- Roll each date piece into a long rope that is equal to the length of your rolled out dough.
- Place the date rope at the top of your dough, rolling the dough length wise along around the date paste.
- Pinch the edges of the dough closed. You can give it another little roll along your floured surface to help it seal.
- Join the two edges of the dough, making a circle. Double check that your edges are sealed, as they could open when baking.
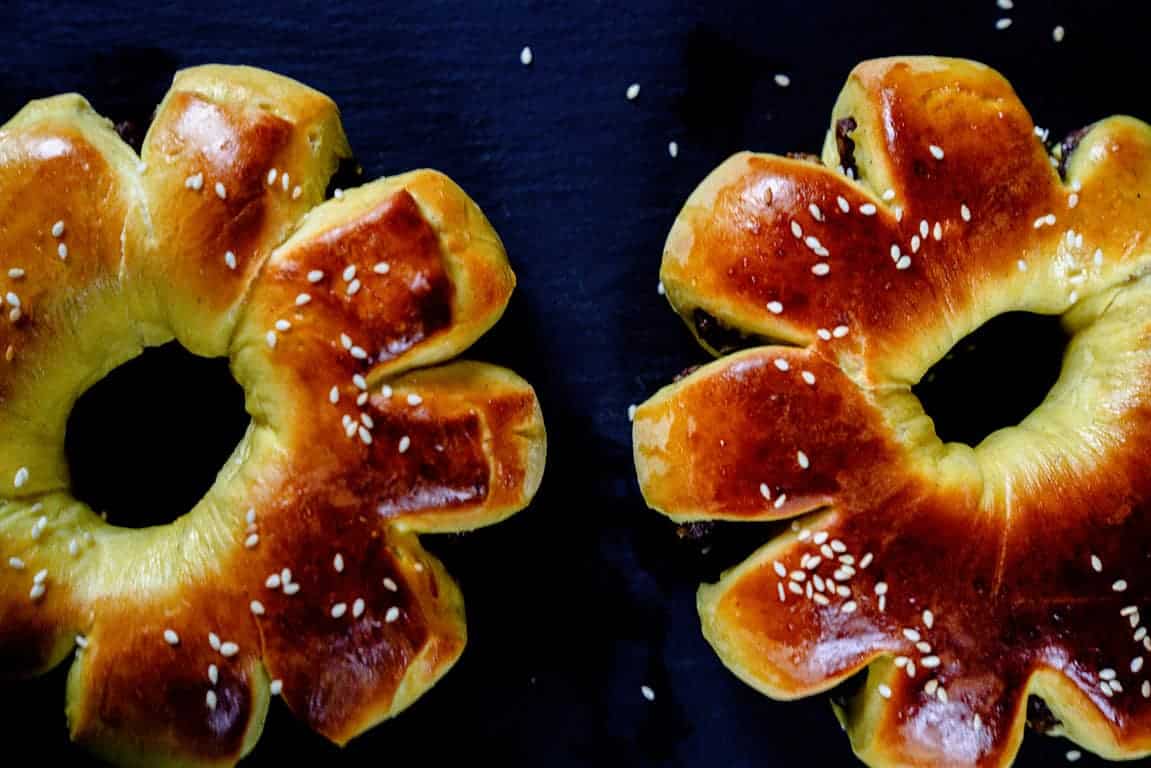
- Using a sharp knife or clean kitchen shears, cut eight slits around the outer ring of your dough, only going 1/3 through the ring. Space your slits equally apart, or as much as you can, by starting just next to your circle seal and working your way around.
- Brush egg wash over each dough ring using a silicone pastry brush.
- Sprinkle with sesame seeds (just a few on the top of each ring).
- Allow the dough to rest for an additional 10 minutes in a warm, dry space.
- Bake your date bread rings for 8-10 minutes until the bottoms are golden brown.
- Switch to your broiler, browning the tops for another 1-2 minutes until golden brown (keep a watchful eye on your date bread as it will go from golden brown to burnt quite quickly).
- Serve them hot out of the oven or allow to cool on a wire rack and then store in an airtight container for up to a week.
Pin it and start Your travels through baking!


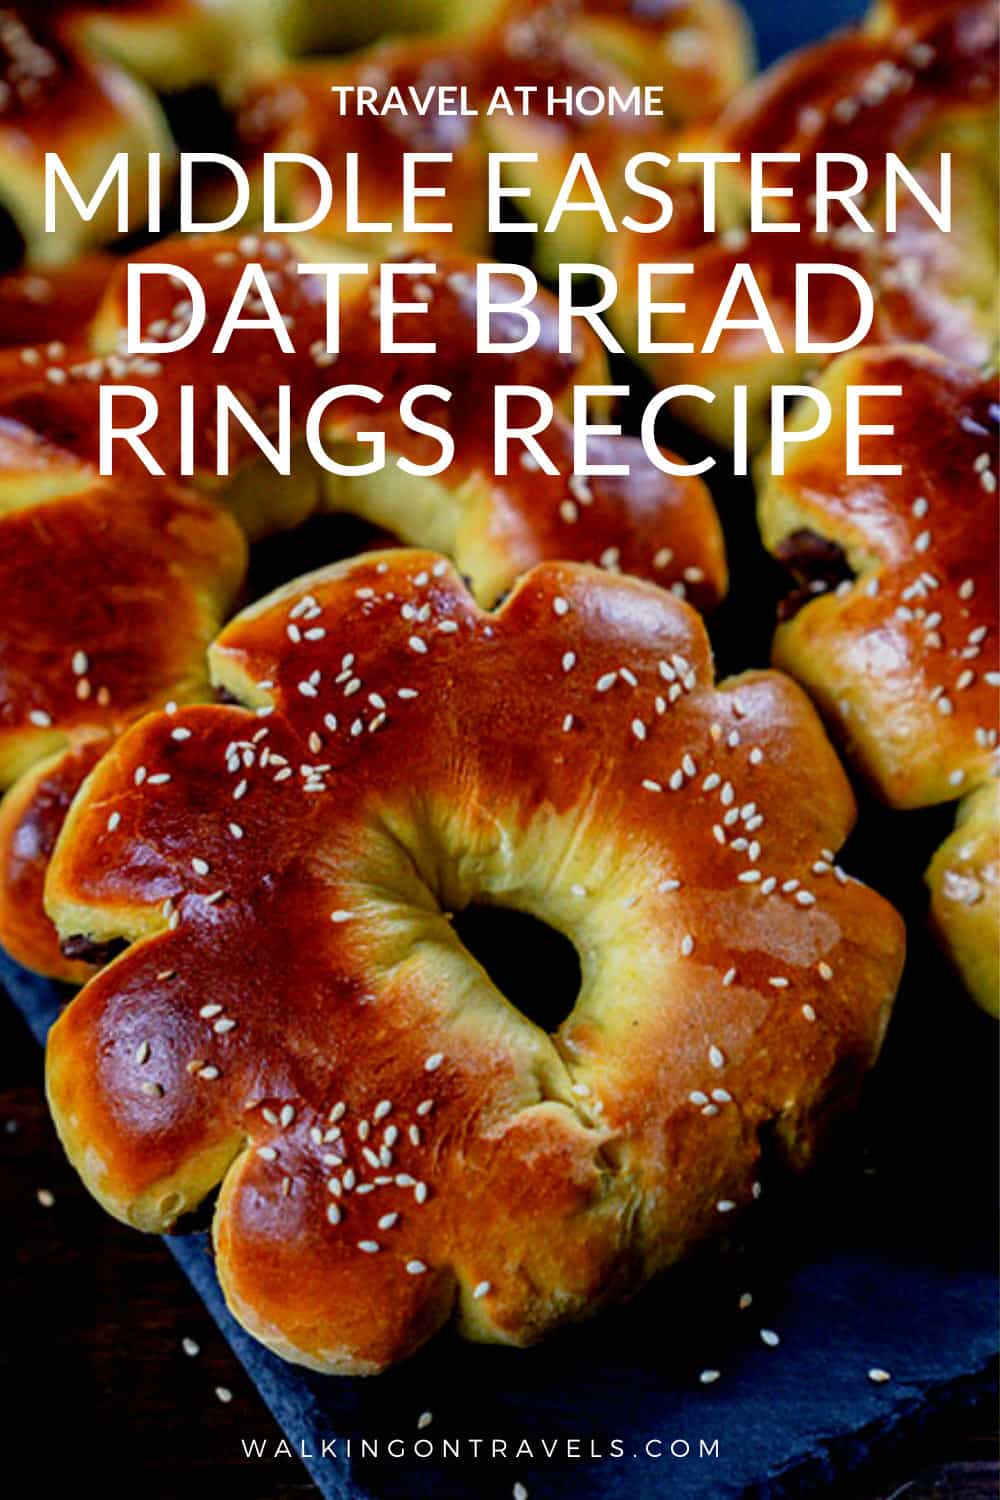
Date Bread Rings

Whip up a batch or two of these warm, sweet bread rolls to serve at breakfast, send to school with your kids as a snack, or even add to your afternoon tea and brunch spread. These Middle Eastern date bread rings are so good, you won't even mind the calories thanks to the extra fiber in the dates.
Ingredients
- 4 1/2 - 5 1/2 cups all-purpose flour
- 1/2 tsp cardamom
- 1/2 tsp turmeric
- 1 packet of instant yeast (AKA 1 tbsp fast-acting instant yeast)
- 1/2 cup sugar
- 1/2 tsp kosher salt
- 1/3 cup melted butter (or canola oil)
- 1/4 cup yogurt (whole milk if possible)
- 1/2 cup warm milk (100°F- 110°F)
- 1/2 cup water, warmed (100°F- 110°F)
- 2 eggs
- 1 tsp white vinegar
- 1 tsp vanilla extract
- Egg wash (1 egg whisked with 2 tsp milk or water)
- 1-2 tbsp sesame seeds
Date Filling
- 500 grams dates, pitted (about 15-20 dates)
- 2 1/2 tbsp melted butter
- 1 1/2 tsp cardamom
- 2-3 tsp ground cinnamon
Instructions
Date Bread Ring Instructions
- Using a stand mixer fitted with the paddle attachment set to medium, combine 4 1/2 cups of flour with the sugar, yeast, cardamon and turmeric.
- Switch to stir (or low), adding the melted butter until combined.
- Add in the yogurt, vinegar and vanilla, until combined.
- Add the eggs, one at a time, making sure all ingredients are combined.
- Switch to your mixer's kneading hook (or you can knead by hand), adding the warmed milk and water (do not let the liquids go above 110°F).
- Knead for 5 minutes, adding more flour if the dough is too sticky, kneading for about 10 minutes until the dough is smooth and passes the window test.
- In a large oiled bowl, turn out your dough into the bowl, covering the bowl with plastic wrap or a towel to allow the dough to rise in a warm, dry place for at least an hour or until doubled in size (you can set your oven to 100°F to help the dough rise if it is too cold in your kitchen).
- Once doubled, take your dough out and gently push it down with your hand (do not punch down your dough!)
- Allow the date dough to rest for about 15 minutes.
- Preheat your oven to 400°F.
- Line a large baking sheet or two half baking sheets with parchment paper.
- Divide your dough into eight equal pieces (about 400 grams per piece).
- Divide your date paste into eight equal parts (about 60 grams each).
- Roll out each piece of dough on a flat, floured surface, creating a rectangle about 1/4 inch thick with each piece.
- Roll each date piece into a long rope that is equal to the length of your rolled out dough.
- Place the date rope at the top of your dough, rolling the dough length wise along around the date paste.
- Pinch the edges of the dough closed. You can give it another little roll along your floured surface to help it seal.
- Join the two edges of the dough, making a circle. Double check that your edges are sealed, as they could open when baking.
- Using a sharp knife or clean kitchen shears, cut eight slits around the outer ring of your dough, only going 1/3 through the ring. Space your slits equally apart, or as much as you can, by starting just next to your circle seal and working your way around.
- Brush egg wash over each dough ring using a silicone pastry brush.
- Sprinkle with sesame seeds (just a few on the top of each ring).
- Allow the dough to rest for an additional 10 minutes in a warm, dry space.
- Bake your date bread rings for 8-10 minutes until the bottoms are golden brown.
- Switch to your broiler, browning the tops for another 1-2 minutes until golden brown (keep a watchful eye on your date bread as it will go from golden brown to burnt quite quickly).
- Serve them hot out of the oven or allow to cool on a wire rack and then store in an airtight container for up to a week.
Date filling
- In a food processor, grind the dates into a paste.
- Pour date paste into a clean bowl, mixing in butter, cardamom and cinnamon.
- Set aside prepared date filling until bread is ready to roll out.
Notes
1. You can use saffron instead of turmeric to get the golden color. Simply soak a few saffron threads in the warm milk for at least 30 minutes.
2. Adjust cinnamon and cardamom in the dough and paste to your own tastes.
Recommended Products
As an Amazon Associate and member of other affiliate programs, I earn from qualifying purchases.
-
Organic Toasted Sesame Seed
-
Natural Distilled White Vinegar
-
Rapid Rise Instant Yeast Fast Acting
-
Gourmet Organic Ground Cardamom
-
Saffron Threads
-
McCormick Organic Ground Saigon Cinnamon, 10 oz
-
Nielsen-Massey Pure Vanilla Extract
-
Diamond Crystal Table Iodized Salt
-
King Arthur Flour, 100% Organic All-Purpose Flour Unbleached
-
Baking Trays Half Sheet (2 Pack)
-
Stainless Steel Mixing Bowls
-
IF YOU CARE FSC Certified Parchment Baking Paper, 70 sq ft
-
KitchenAid Stand Mixer
Nutrition Information:
Yield:
8Serving Size:
1Amount Per Serving: Calories: 1793Total Fat: 19gSaturated Fat: 9gTrans Fat: 0gUnsaturated Fat: 7gCholesterol: 101mgSodium: 284mgCarbohydrates: 359gFiber: 17gSugar: 54gProtein: 46g
All information and tools presented and written within this site are intended for informational purposes only. I am not a certified nutritionist and any nutritional information on twisttravelmag.com should only be used as a general guideline. This information is provided as a courtesy and there is no guarantee that the information will be completely accurate. The nutritional labels are a product of online calculators, such as Calorie Count. Even though I try to provide accurate nutritional information to the best of my ability, these figures should still be considered estimates.


Just like you I enjoyed date bread so much that I started searching for it’s recipe. And I am soo happy to find it. Thank you dear for the recipe. I will definitely try it.